
0
TimberThane by Ekena Millwork

TimberThane

High density polyurethane molded from real wood timbers, built to capture the look of real wood.

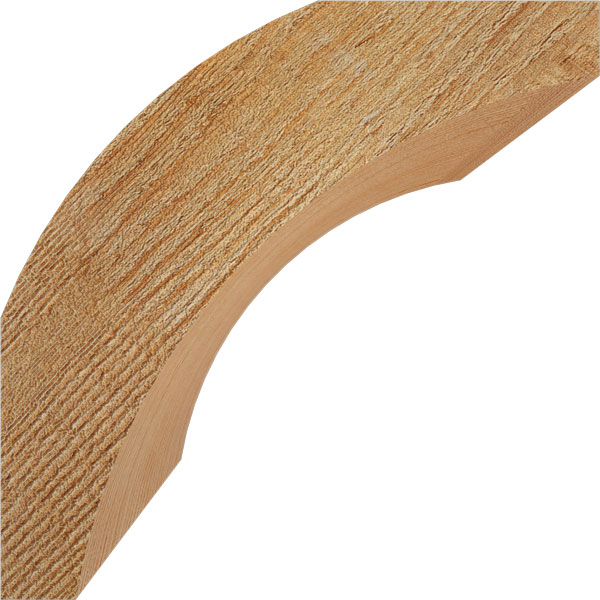
TimberThane starts with real wood timbers. We mold high density polyurethane from them, then use those molds to build unique, custom-sized pieces that capture the look of real wood. You get the grain and character of timber with the benefits of polyurethane: TimberThane won't rot, it holds up against warping and cracking, and it's insect and weather resistant. When it's time to finish it, you can paint it or gel stain it to look like real wood.

Shop the TimberThane collection

Every TimberThane product category we make, grouped the way you shop. Pick one to see everything in it.

Brackets, Corbels & Eaves

5 categories

Shutters & Vents

2 categories

Why high density polyurethane

Our urethane has a closed cell structure that makes it almost completely hydrophobic, so it will not rot, and it resists the growth of mildew and fungus. It weighs 13 to 17 pounds per cubic foot, similar to white pine, and TimberThane beams can be cut, trimmed, drilled and fastened with woodworking tools.

Good to know

  • Won't rot; resists warping, cracking, insects and weather.
  • Resists the growth of mildew and fungus.
  • Handles up to 140°F; skip spots where solar heat builds up, like behind a storm door.
  • Dents, gashes and nail holes can be repaired with wood filler or automotive bondo.
  • Decorative only, not for structural or load-bearing use.
Specifications
Material
High density polyurethane
Density
13 to 17 pounds per cubic foot (similar to white pine)
Compressive strength
300-400 P.S.I. (not intended for structural use)
Tensile strength
350-400 P.S.I. (not intended for structural use)
Moisture / rot
Closed cell structure, almost completely hydrophobic; will not rot
Mildew / fungus
Resists growth of mildew and fungus
Maximum temperature
Up to 140 degrees Fahrenheit
Recommended adhesive
Loctite PL Premium (exterior) or Loctite Power Grab (interior), per the warranty's general notes; the beam guide specifies PL Premium polyurethane construction adhesive for beams

Sources: Specification sheet (PDF)Beams installation guide (PDF)Warranty (PDF)

Before you order and install

What to know for each product type, from our installation guides. Each full guide is linked below its notes, and it’s the one to follow on the job.

Paint it, or gel stain it to look like real wood

Paint it, or gel stain it to look like real wood

TimberThane takes paint or gel stain, and staining is where the real-wood look comes through. Wipe the piece down with mineral spirits, work water based stain or a quality gel stain into the grain, then dry brush it in the direction of the grain until it looks like any stained wood product. Pull off more stain as you dry brush for a lighter shade, add another coat once dry for a darker one, or layer two colors, dark first and then lighter, for a more artistic finish.

Good to know

  • Cut gel stain 2-1: two parts stain to one part mineral spirits.
  • Never sand stainable polyurethane.
  • Stain between 50 and 90°F, out of direct sunlight.
  • Outdoors, use exterior water based stain with a quality exterior top coat.
  • Prefer paint? Painting before installation is recommended for UV protection and a finished look.
Faux wood staining guide (PDF) Warranty (PDF)
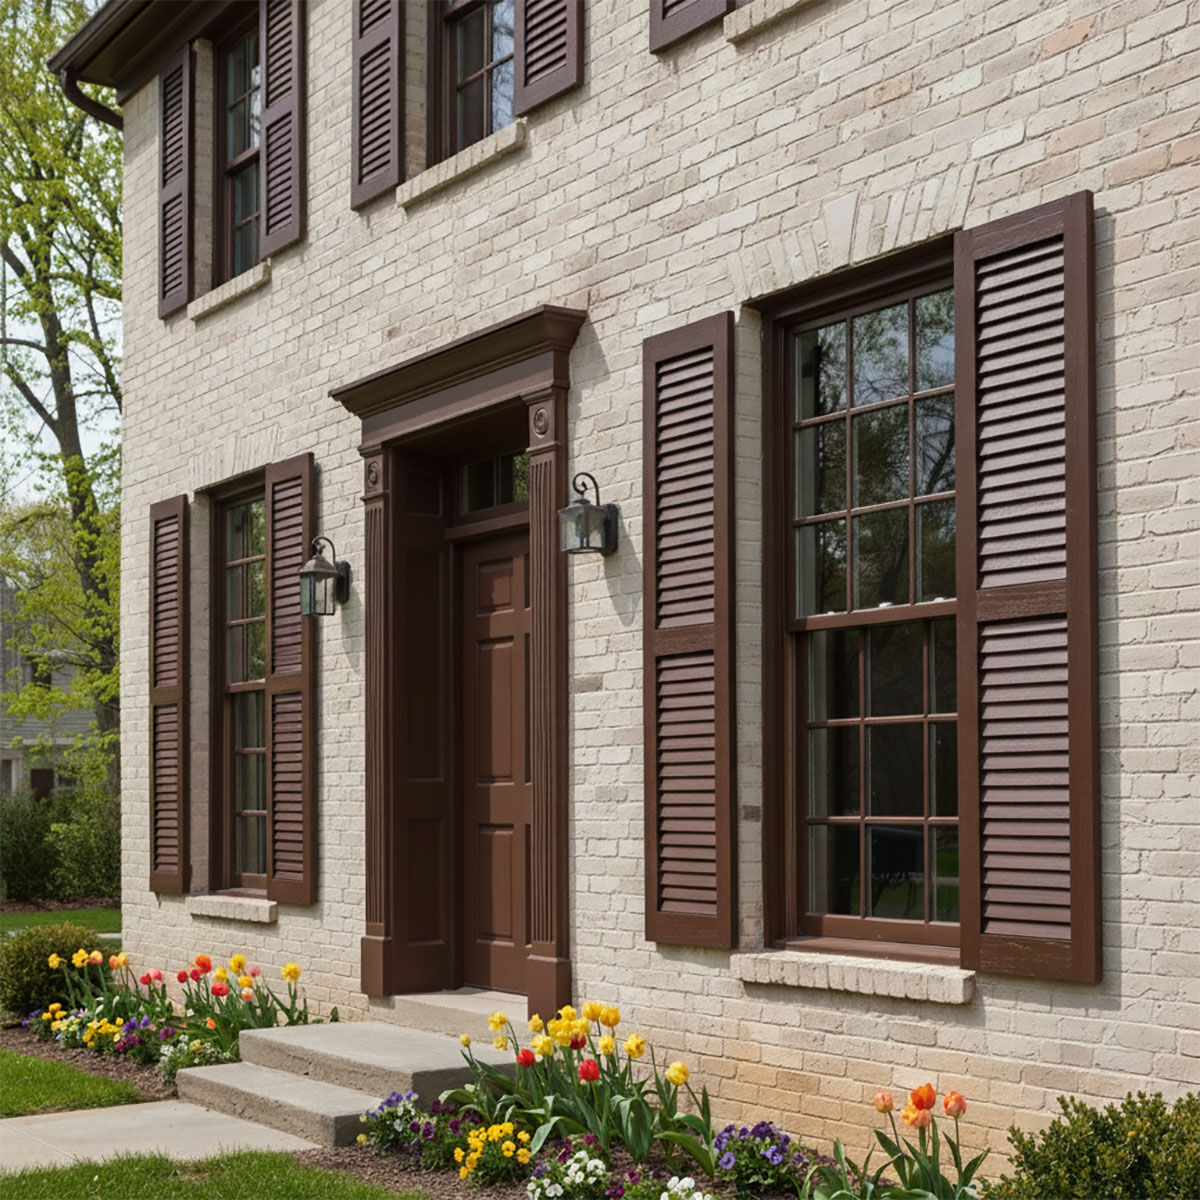
Installing faux wood shutters

Installing faux wood shutters

Shutters should be pre-finished with paint or stain before they go up. They are fastened through pre-drilled pilot holes with non-corrosive exterior grade screws, and each hole gets a clear waterproof, paintable sealant first.

Good to know

  • Use four screws per shutter up to 55", and six screws for shutters over 55".
  • Stucco, hardboard, fiber cement, brick or masonry require a 1/8" carbide drill bit.
  • Do not over-tighten the screws.
  • Cover fasteners with a compatible polyurethane filler or caulk, then touch up with paint or stain.
  • When staining, apply a consistent coat on all six sides.
  • Seal with an exterior-grade clear acrylic or polyurethane top coat.
Shutters installation guide (PDF) Shop Shutters
Installing TimberThane beams

Installing TimberThane beams

TimberThane beams are non-structural and purely decorative. If you are adding a fan or chandelier, follow all building codes and consult a licensed electrician when necessary. Beams may expand and contract, and following the install guide helps minimize this, though it may not eliminate it entirely. Each beam goes over wood blocks fastened to the ceiling, with PL Premium polyurethane construction adhesive and four trim screws per block, two per side.

Good to know

  • Buy all factory stained beams at once; hand finishing means color can vary batch to batch.
  • Lay beams flat in the install room at least 48 hours, away from moisture, sun and heat.
  • Space blocks at beam ends and every 2-3 feet; screw into joists or use heavy duty toggle bolts.
  • A hand saw is recommended for trimming, since some beams may hide fasteners. Cut 1/8" longer than the opening, never short.
  • Stained urethane used outdoors needs a topcoat, and stainable polyurethane should never be sanded.
Beams installation guide (PDF) Faux wood staining guide (PDF) Shop Made-to-Order Beams
Installing a faux wood mantel

Installing a faux wood mantel

Faux mantels are decorative only and are not meant to support heavy weight. To install, you fasten 2 x 4 wood blocking into the studs, add adhesive to the blocking, then slide the mantel over it and screw through the top into the 2 x 4.

Good to know

  • Let the mantel acclimate in the room for at least 24 hours before installing.
  • Deck screws are recommended to reduce the chance of splitting or damage.
  • Outdoors, top coat with a high quality clear exterior polyurethane with a UV inhibitor.
Mantels installation guide (PDF) Shop Mantels

Installing TimberThane corbels

Corbels are not load-bearing and are for decorative use only. The top and back of the corbel slip over wood blocking strips, which should fit snugly into the back.

Good to know

  • Wipe the surface and corbel free of dirt and dust with a clean cloth or dry sponge.
  • The blocking strips should fit snugly into the back of the corbel.
  • Slip the top and back pieces of the corbel over the blocking strips.
Corbels installation guide (PDF) Shop Corbels

Installing TimberThane brackets and outlookers

It is highly recommended that you paint or finish brackets before installation. They mount over wood blocks screwed to the surface: the top and back of the bracket slip over the blocking, and you screw through the side into the blocks.

Good to know

  • Screw the wood blocks to the surface first.
  • Screw through the side of the bracket into the blocks to secure it.
  • Seal the bracket edges against the surface with caulk after installation.
Brackets & Outlookers installation guide (PDF) Shop Brackets

Installing TimberThane braces

Braces are not load-bearing and are for decorative use only. They go up over wood blocks screwed to the surface, secured by screwing through the side of the brace into the blocks.

Good to know

  • Clean the surface and the brace of dirt and dust with a clean cloth or dry sponge.
  • Attach the wood blocks to the surface with screws.
  • Screw through the side of the brace into the blocks to secure it.
Braces installation guide (PDF) Shop Braces

Installing TimberThane rafter tails

TimberThane rafter tails are decorative only, built as hollow channels that slip over wood blocking strips. Painting or finishing them before installation is highly recommended.

Good to know

  • Screw wood blocks to the surface, then slip the rafter tail over the blocking strips.
  • Seal the edges against the surface with acrylic caulk after installation.
  • Touch up with paint as needed.
Rafter Tails installation guide (PDF) Shop Rafter Tails

Installing gable vents

Priming and painting gable vents with 100% acrylic latex paint before installation is highly recommended. They are set with a 1/2" bead of adhesive caulk around the back edge, and non-corrosive fasteners can be added for additional support.

Good to know

  • Make sure the surface and the back of the vent are completely dry first.
  • Run a 1/2" bead of adhesive caulk all the way around the back edge.
  • Non-corrosive fasteners can be used for additional support.
Gable Vents installation guide (PDF) Shop Gable Vents

Warranty

TimberThane has a limited lifetime warranty, shared with Signature Urethane and Endurathane, and coverage is pro-rated based on the number of years since installation. It covers manufacturing defects that result in cracking, splitting, warping and rotting under normal weather conditions. Coverage belongs to the original residential or commercial owner(s) of the structure and ends when ownership transfers or the last original owner dies.

Read the full warranty (PDF)

The details

  • Installation that does not follow our written instructions and recommendations is excluded.
  • Damage from improper storage and/or handling, and fading from weathering of painted surfaces, are excluded.
  • Installation labor by others, removal or reinstall labor, travel and other replacement costs are not covered.
  • Claims require proof of purchase date and purchase price.
  • Notify us within 30 days of learning the facts, and allow us to investigate and approve the claim in writing.
  • Painting before installation is recommended for UV protection and a finished look.

Guides & documents

View any guide in your browser or download the PDF to keep on the job.

Shutters installation guideInstallation guide · PDF
Beams installation guideInstallation guide · PDF
Faux wood staining guideInstallation guide · PDF
Mantels installation guideInstallation guide · PDF
Brackets & Outlookers installation guideInstallation guide · PDF
Braces installation guideInstallation guide · PDF
Corbels installation guideInstallation guide · PDF
Rafter Tails installation guideInstallation guide · PDF
Gable Vents installation guideInstallation guide · PDF
Specification sheetSpec sheet · PDF
WarrantyWarranty · PDF

Product details on this page come from our published documents and product team for the TimberThane line. If a product page or its own guide says something different, go with the product’s document. Questions? Call us at (866) 607-0453.

Explore our other collections

Timberthane Collection